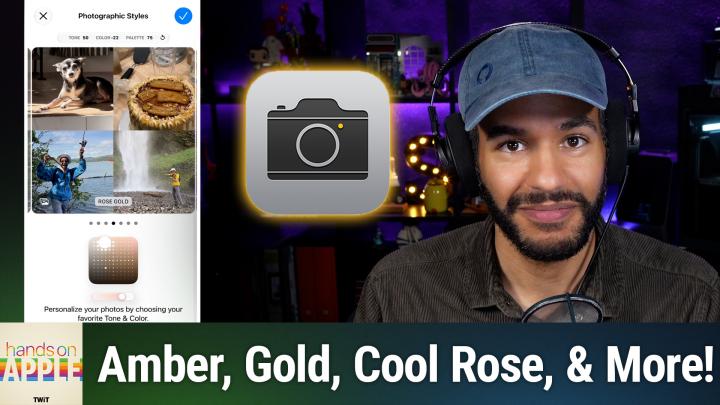
iPhone Photographic Styles Explained
AI-generated, human-reviewed.
Apple’s Photographic Styles empower iPhone users to create photos that reflect their personal taste, from vibrant, punchy images to flatter, more natural tones. On Hands-On Apple, Mikah Sargent highlighted how both new and older iPhones handle this feature, and how you can fine-tune your camera for photos that look the way you want.
What Are Photographic Styles and Why Should You Care?
Photographic Styles are adjustable presets in the iPhone Camera app that let you change the overall tone, color, and look of your photos. Unlike traditional filters, these styles are applied while capturing the photo and are designed to preserve natural color relationships and details, especially for skin tones.
This feature is especially valuable for users who want images that better reflect their personal preferences, or find Apple's default “look” isn’t ideal for their complexion or the environments they shoot in.
Supported iPhones and Feature Differences
Photographic Styles are available on these iPhones:
- iPhone 13 to iPhone 15
- iPhone SE (latest generation)
- iPhone 16 and 17 series (excluding 16e and 17e for the most advanced version)
Key Differences by Model:
- iPhone 13 to iPhone 16E (older models):
- Five preset styles available
- The style you select is applied (or "baked in") to every photo at the moment of capture as there’s no way to change it afterwards
- iPhone 16/17 series (except 16e/17e):
- More advanced styles with options to separate skin tone adjustments from the background
- Changing the style after the photo is taken is possible (as long as photos are saved in the High Efficiency format)
These capabilities make newer iPhones much more flexible for editing after shooting, which is useful if you like to experiment or aren’t sure which look fits best until after the moment has passed.
How to Set Up and Use Photographic Styles
- Open Settings on your iPhone.
- Tap Camera → select Photographic Styles.
- Browse and select your preferred style:
- Standard: Balanced, true-to-life.
- Amber, Gold, Rose Gold: Accent different warm undertones.
- Bright: Brightens skin tones and boosts vibrance.
- Neutral: Mutes warm tones for a flatter look.
- Cool Rose: Accentuates cool undertones.
- Customize further by adjusting the on-screen control pad for tone (vertical), color (horizontal), and intensity (slider underneath).
Editing After Capture (Newer Models Only)
- On iPhone 16/17 series, open any photo taken in High Efficiency** mode.
- Go to Edit → tap Styles → swap styles or fine-tune look even after shooting.
- To ensure photos are in High Efficiency, navigate to Settings → Camera → Formats and enable High Efficiency.
Practical Tips for Choosing Your Best Look
- Select a style that matches your personal “real-life” look, especially when photographing faces.
- Use the control pad to get precisely the undertone, tone, and intensity you want.
- On older iPhones, remember: your style choice is permanent for each shot! Change the style before shooting if you want a different look.
- Experiment! On new models, try different styles for a week and adjust as needed—nothing is permanent if you shoot in High Efficiency format.
Get Ready to Shoot!
- Photographic Styles are more than filters—they’re sophisticated color and tone presets that shape the feel of every photo.
- On newer iPhones, you can edit your style choice after shooting (if using the right format); on older models, your choice locks in at capture.
- Presets like Amber, Gold, Rose Gold, Bright, Neutral, and Cool Rose cater to different skin tones and personal tastes.
- Customization tools let you fine-tune each style further for a truly personal result.
Using Photographic Styles gives your iPhone photos a tailored, personalized look. It is especially powerful if you’re selective about your appearance in photos or want more creative control. On Hands-On Apple, Mikah Sargent found that newer models make it easy to experiment and adjust after shooting, but even older models benefit from taking time to pick the best preset. If you regularly shoot portraits, take a few moments to test each style with your own photos and choose the one that best matches how you want to be seen.
Subscribe to Hands-On Apple for more tips: https://twit.tv/shows/hands-on-apple/episodes/239